Avalanche for the Impatient II
This is the second article from a series of brief texts explaining practical Avalanche stuff, aimed to those eager to start interacting with the technology and the community without extensive previous knowledge. So, no intention to be technically extensive, but more a friendly chat to increase your appetite for the details. I might say that the original idea was to contribute to the spanish speakers Avalanche community only, but I realized that this second article (you can read the version in spanish of this and the first article, already published at Avalanche en español) could be of broader community interest.

You are Here
So lets get started by thinking about Avalanche more as an ecosystem rather than a pure blockchain network or consensus protocol technology. I found this idea helpful when we talk about all the things sorrounding Avalanche: validators, nodes, wallets, tokens, tools, community, developers, regulations, etc.
So, It was already stablish that you can participate in the network by running a validator node. By a validator node, validator for short, we should consider the idea of either a “real” (PC, Laptop, Server, Raspberry Pi, etc.) or a virtual (using for example AWS services) computer running a software (Avalanche client) that lets you validate Avalanche transactions. I covered a bit of this topic in my previos article, but don´t worry there are lots of information about running a node on the web.
However, It could be the case that you are not willing (yet) to have your own node, or you have one running already and want to do more, so that is the point from where this article really starts. The Avalanche WALLET.
The Avalanche WEB Wallet
Basically, the Avalanche WEB Wallet is a web portal that lets the user “to send and recieve funds throught the network”¹. In order to create or access to a wallet you need to visit: https://wallet.avax.network/
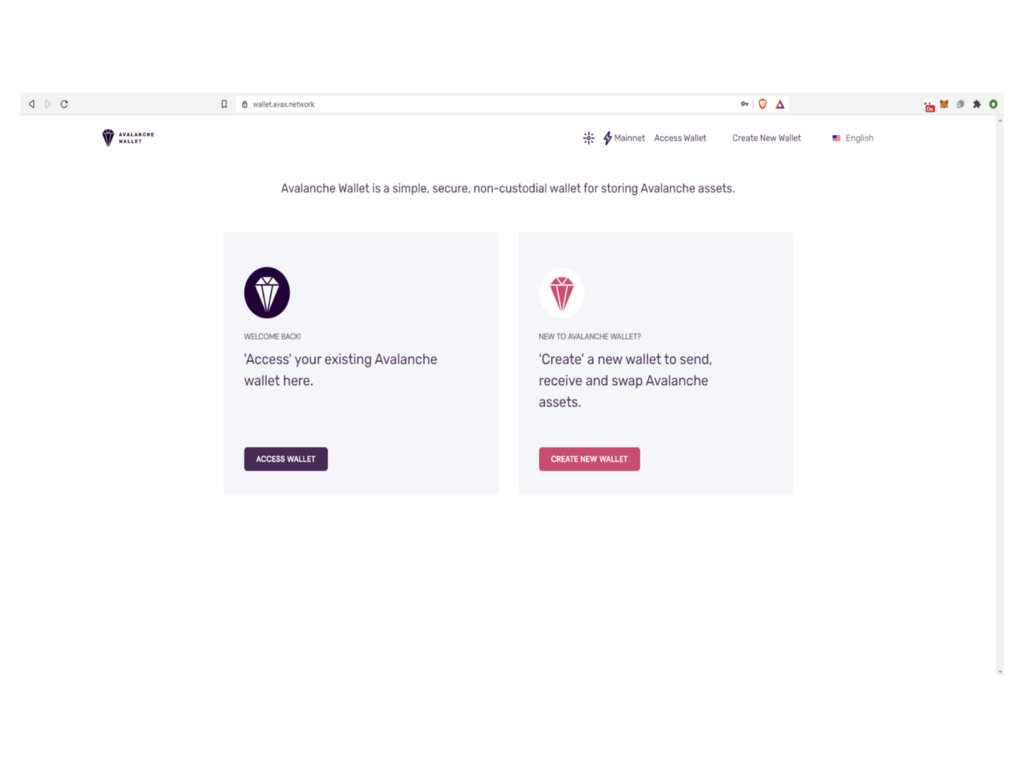
This time I am not going to explain how to create a wallet, I would rather take you through the elements of one that has already been created. In other words, I am not going to show you how to drive (sending, receiving, staking, delegating, etc), but to try to explaing to you what all those lights and buttons in your car´s dashboard panel (in this case the Avalanchewallet) are mean to do or represent.
Accessing your Wallet
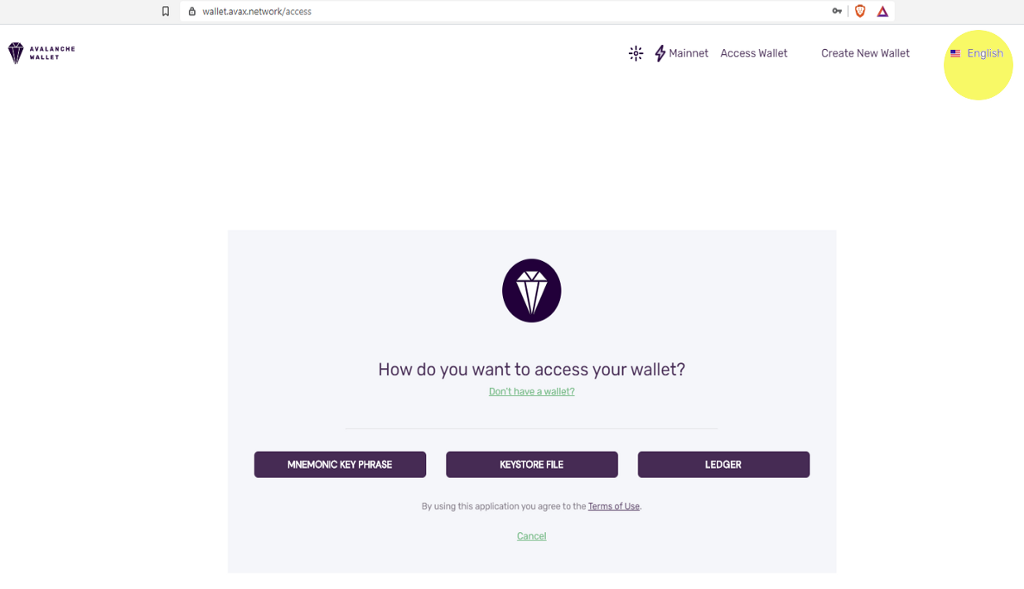
Once you have your wallet, you can access to it identifying yourself vía three different methods: Mnemonic Key Phrase, Keystore File or Ledger. See the next screen capture. Keep in mind that you can change language on the interface by clicking on the language selector located on the right hand side top corner (highlited in yellow in the figure).
Mnemonic Key Phrase
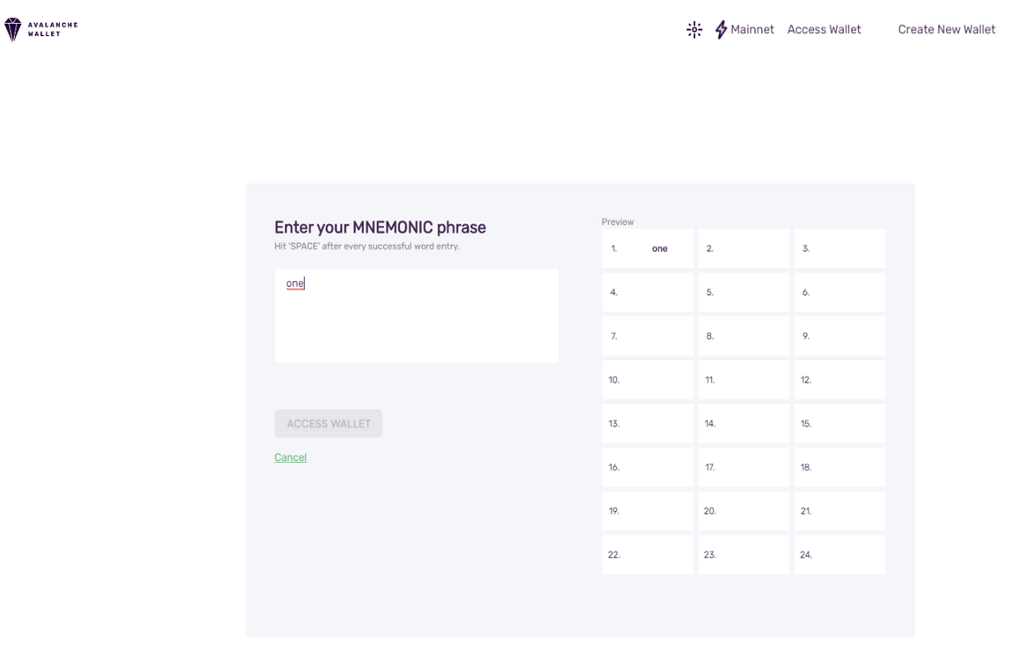
In the first case, you will be required to capture into a text box the Mnemonic Key Phrase you were provided during the creation of your wallet. This text box is case sensitive, and you need to enter all the words in the original given order. As you are filling the box words are copied to the grid on the left to help you verify your input. Once the task is completed, click on the ACCESS WALLET button.
Please remeber to keep that key in a safe place, since it is the only way you will be able to recover access to your wallet in case you lost or forget your other credentials. Have a look to the next screenshot.
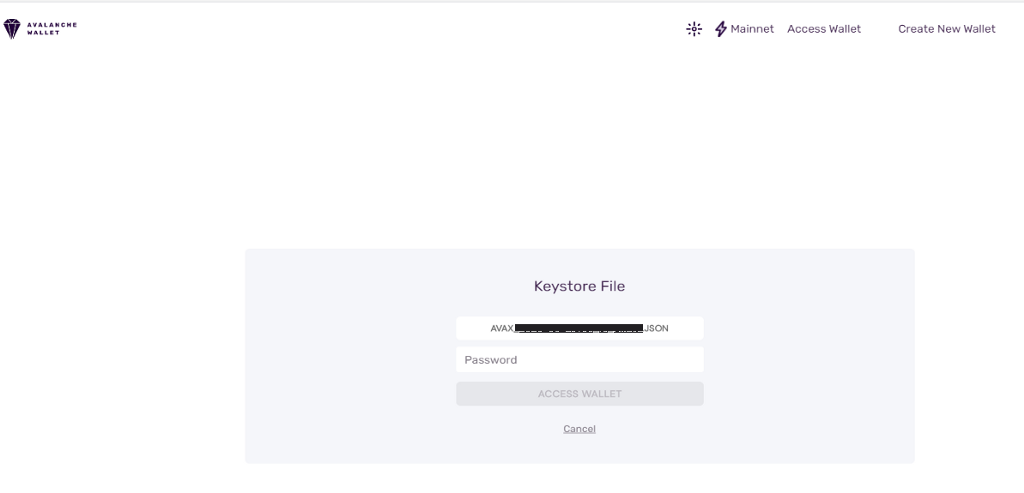
Keystore File
In this case, you are required to upload your Keystore file. The Keystore file is the .JSON file you were provided when you created your wallet.
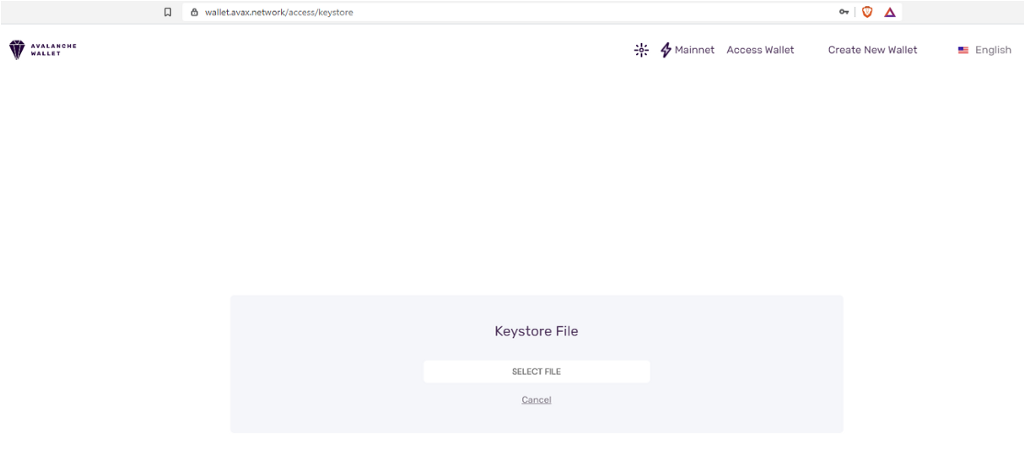
Once you have provided your Keystore File, you are required to enter your password, see next figure (some details have been erased from the image for privacy reasons). If you haven´t configured this option you won´t be able to log on with the Keystore File option. We will talk about how to get the keystore file and set a password, later on.
In case you require a copy of your keys and wallet address, you can get a copy of them once you are logged on. We will talk about that option in a following article.
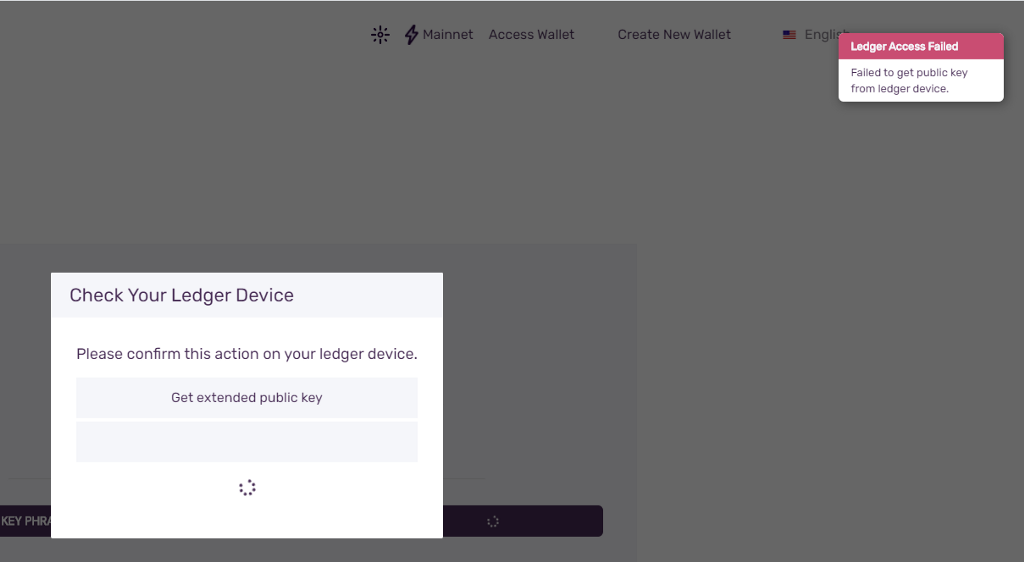
Ledger
For this method, you are required to have a Legder device connected to your computer. As I don´t have one of these devices, and it seems integration wih the wallet continues to be experimental, I will only show you the screen you get when attempting to log on using this option. As you can see in the next screen shot, once you select this option the computer tries to locate the ledge device on your sistem, since there is not one connected in this case, the user receives an error message and she is returned to the log on options screen.
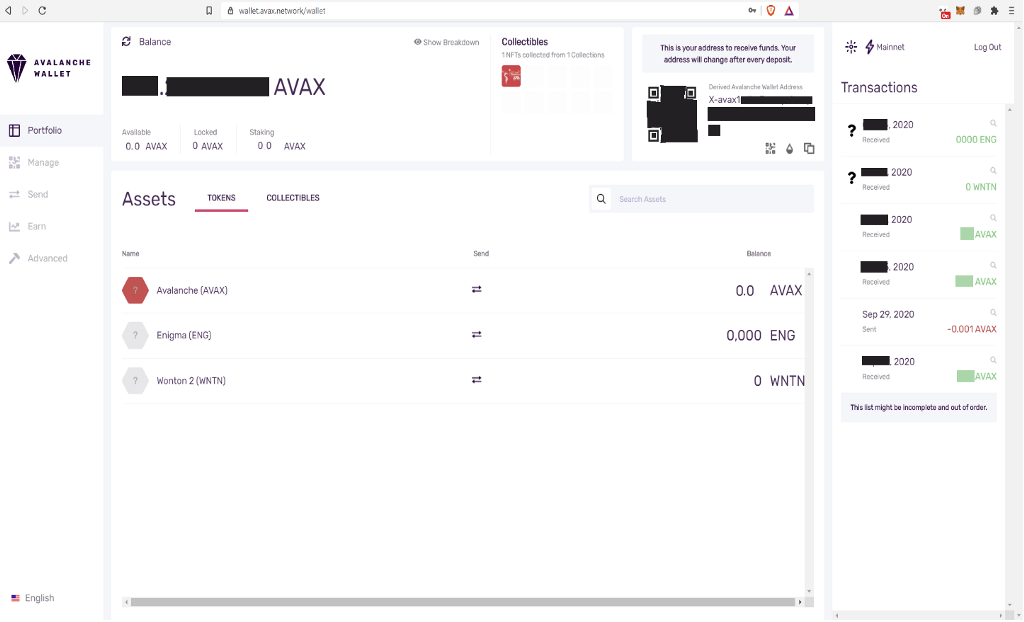
Finally, when your access is granted you will see the portfolio wallet screen, have a look to the next screen shot. Keep in mind that if you have not funded, sent or received any transaction your wallet will have less elements that the one I am showing you. This is ok, I will start describing these elements in the following articles of this series.
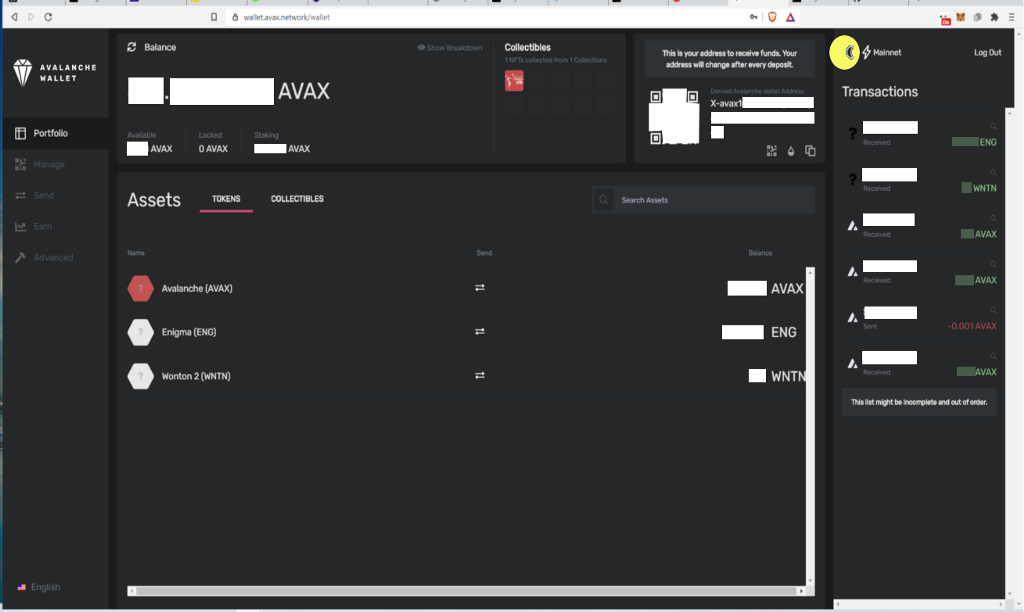
Before we go, I would like to show you the night or dark mode of the wallet, accessible through the first button/icon on the top-tool bar.
[1] Ava Labs. Why Avalanche. https://www.avalabs.org/why-avalanche
![]()
Avalanche for the Impatient II was originally published in Avalanche Hub on Medium, where people are continuing the conversation by highlighting and responding to this story.