Avalanche staking on Raspberry Pi 4
One of the great advantages of Avalanche is that there is no need for specialized equipment to take an active part of the network. I have been running a validator for almost 2 weeks and it has worked great, 98% uptime on avascan!!
My setup:
- Raspberry Pi 4 Model B 4GB RAM
- 32 GB micro SD card with Ubuntu Mate 20.04
- Case with fan
- LAN cable
- Mouse and keyboard
- HDMI to micro HDMI cable
My raspi is next to my TV and router so I can monitor performance at any time by clicking the remote.
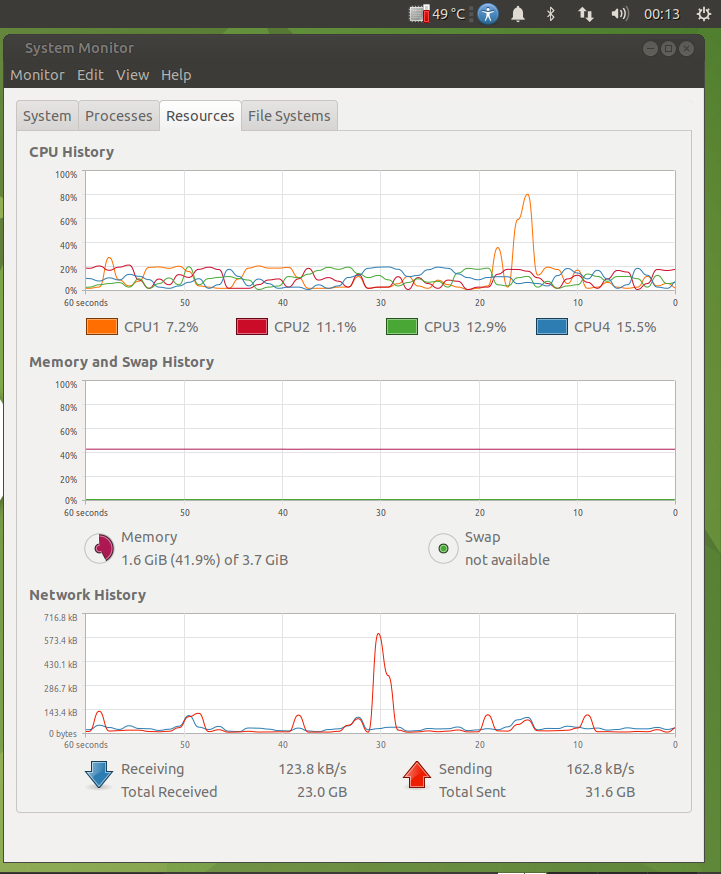
So far there have been no issues with the node, it stays connected to the network at all times. The RAM usage I have observed is between 1.2 and 1.7 GB and the processors are usually working at around 20% with occasional peaks as seen in the screenshot.
An other thing that concerned me was the internet connection because there are times there are 3 remote classes/meetings in my house but we have not noticed any issues since the node is running.
My case has a fan and the CPU temperature is around 50°C which is very good, I made an experiment disconnecting the fan and it took 30 minutes to reach 70°C so I reconnected the fan since the max recommended temperature is 80°C and I wanted to sleep at peace.
I know many have opted to set up their validator on AWS or other similar services to ensure uptime but I chose to run it myself to avoid monthly fees and because the 60% uptime requirement seams reasonable in case I have to stop the node for some time.
There is also this great tutorial if you would like to run your node on Ubuntu server.
If you set your raspi node or are already running one DM me on twitter so I can send you one of these NFTs I made for team raspi! There are only 20 and one is mine 🙂

![]()
Avalanche staking on Raspberry Pi 4 was originally published in Avalanche Hub on Medium, where people are continuing the conversation by highlighting and responding to this story.