How to Add Avalanche to MetaMask
How can you get these two platforms synchronized? This article takes you through all you need to know about how to add Avalanche to MetaMask.
How to Add Avalanche to MetaMask Wallet
To understand how to connect Avalanche to MetaMask, it is essential to note that the Avalanche network is made up of three smaller interoperable blockchains, each with a unique function.
X-chain is the blockchain responsible for sending and receiving funds on the Avalanche chain. On the other hand, P-chain is used for staking and validation, while C-chain is the blockchain responsible for dApps and DeFi systems. With this, only the C-chain can integrate with MetaMask, and here is a step-by-step guide for the integration.
Step 1: Setting up a MetaMask Wallet Account
MetaMask is one of the most secure wallets that supports multiple blockchains from Ethereum to Avalanche and everything in between. With a browser and a mobile app version for Android and iOS devices, MetaMask is an efficient wallet for all things DeFi. Let’s explore how to set up a MetaMask wallet account that we will need when adding Avalanche chain to MetaMask.
- Visit the MetaMask Website and click the Download button at the top left corner of the home page on your PC.
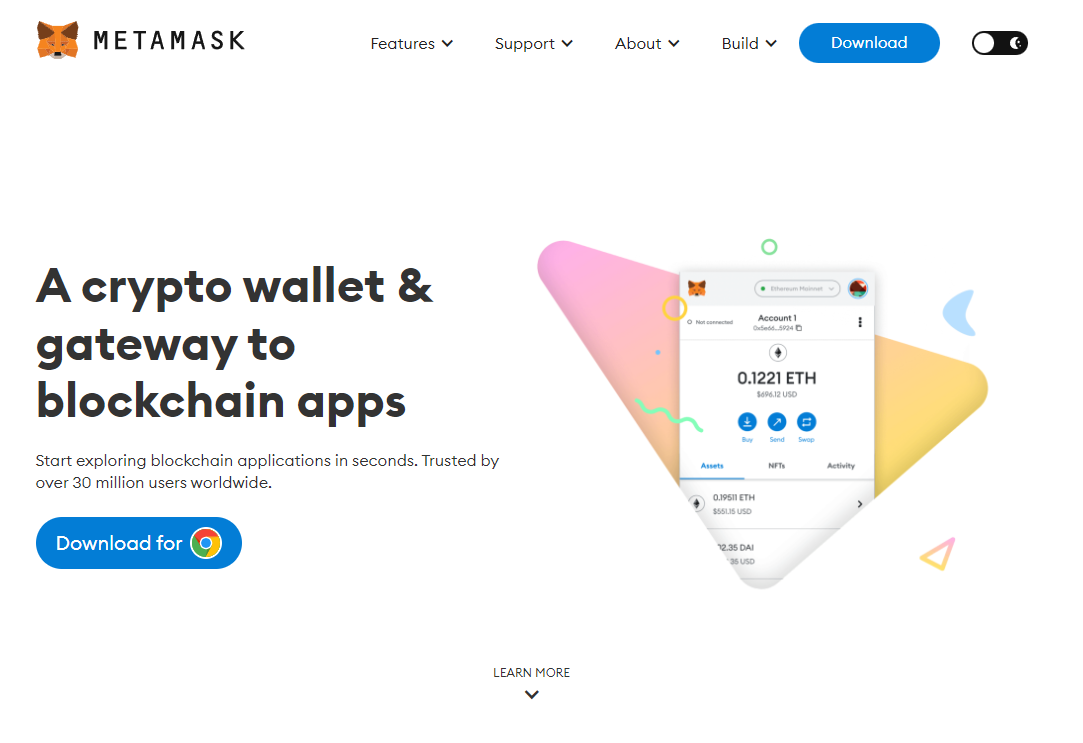
- Tap on the Instal for Chrome button and wait for the Wallet to download.
- Once the download is complete, click the Extension icon on your browser.
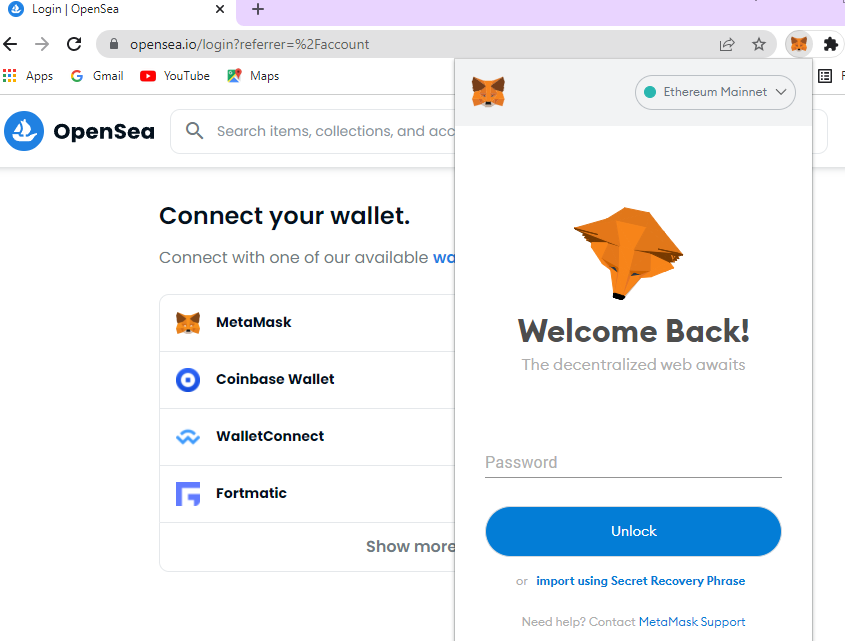
- Select the MetaMask Extension and tap on the Get Started button to access MetaMask.
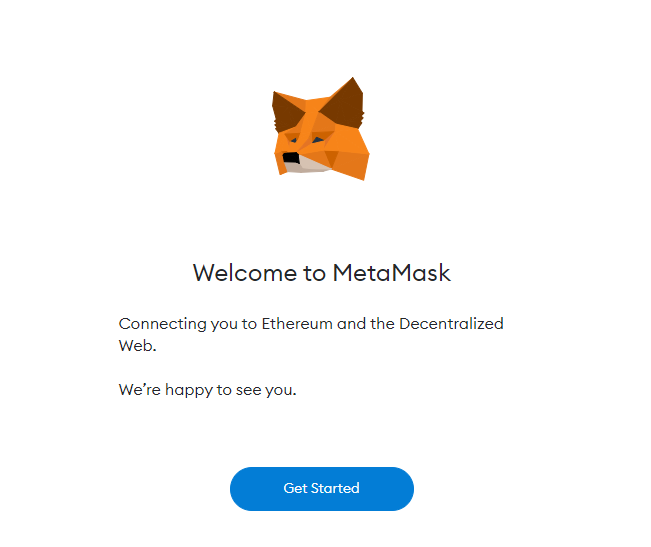
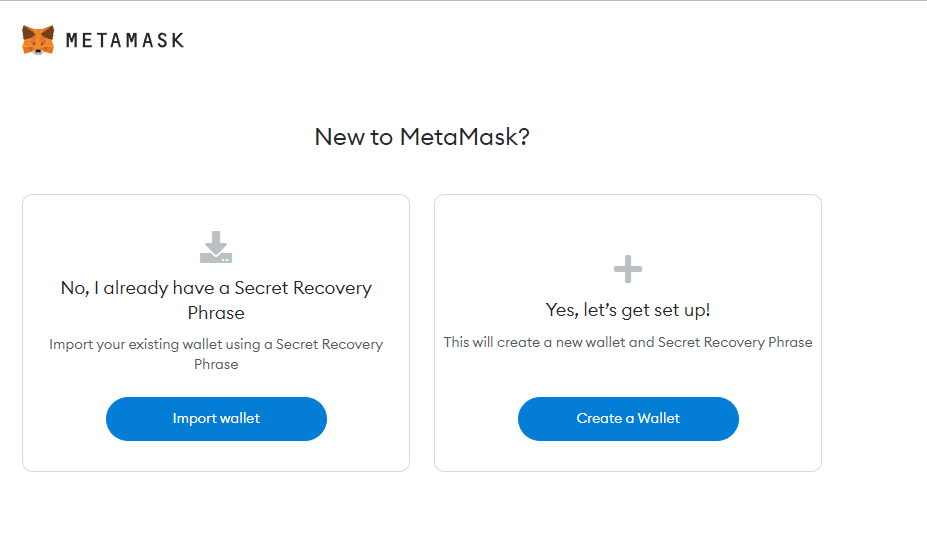
- You will be redirected to a new tab with two options: Import Your Wallet or Create a Wallet. Click on the Create a Wallet option.
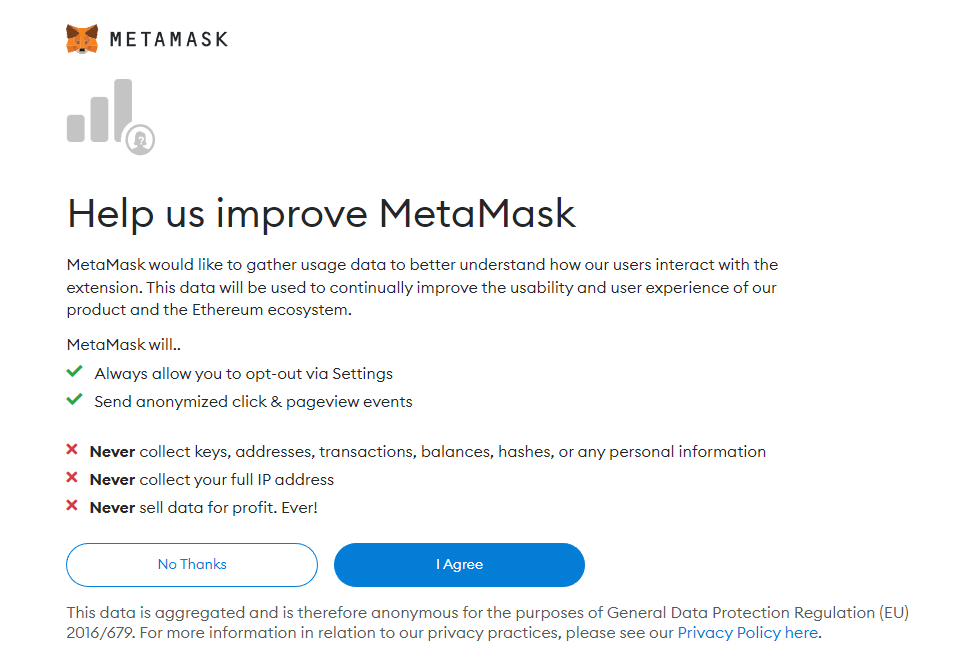
- A page with MetaMask’s terms and conditions will open. Read documents, and click the I Agree button to agree to them.
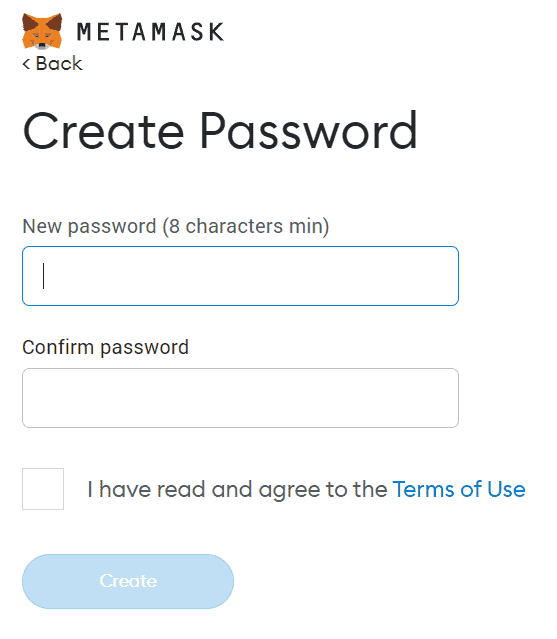
- You will now get a prompt asking you to create and confirm your password. Fill in the necessary fields and click Create.
When you create your password, MetaMask gives you a 12-word recovery phrase. This phrase is important for recovering your MetaMask account in case you lose access to it.
Because this phrase is a secondary password to your account, store it in a safe place. This prevents any unauthorized third party from accessing your MetaMask account or transacting on your wallet.
Step 2: Setting Up an Avalanche Wallet
The next step you need is to create an Avalanche wallet account. You will use this account to transfer your funds from Avalanche to MetaMask. Here’s a walkthrough on how to set up an Avalanche wallet account.
- Visit the Avalanche Website and click on the Create wallet button.
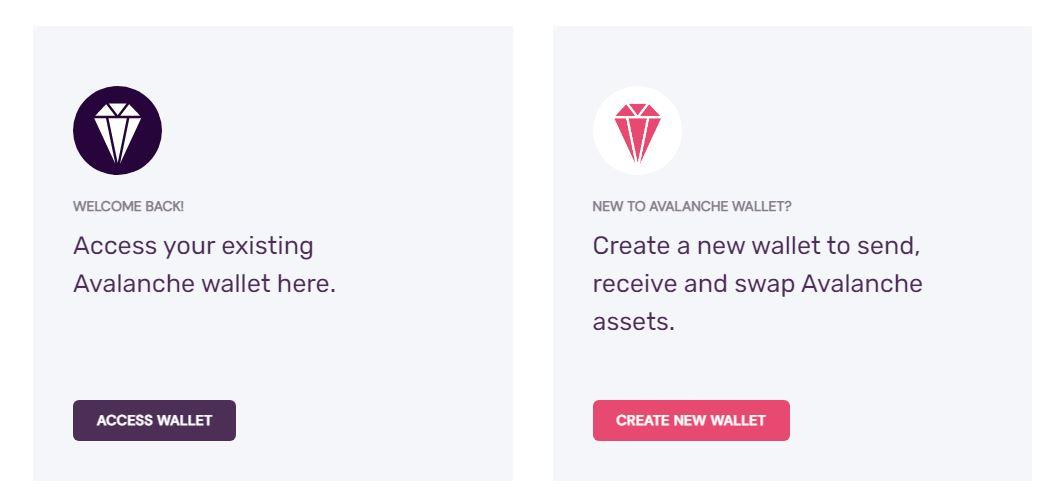
- A new page will open, asking you to generate a seed phrase. A seed phrase is a 24-word phrase that helps you recover your account should you lose it.
- Click the Generate Key Phrase button.
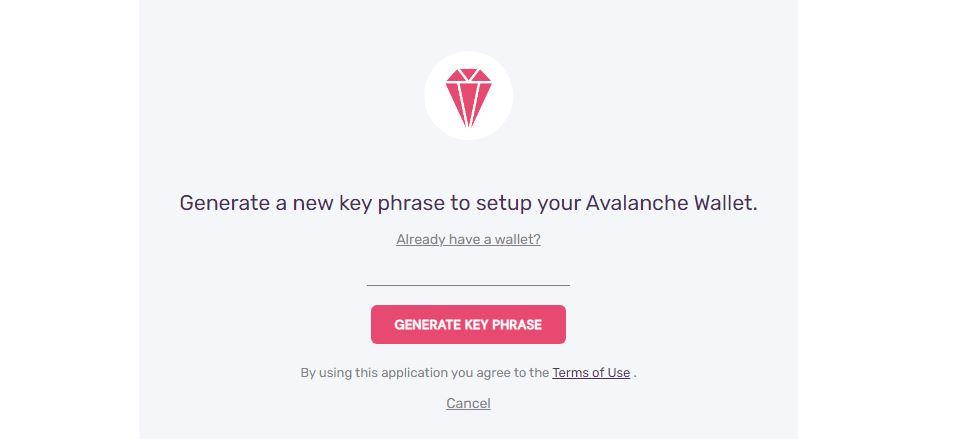
- On the page that opens, write down your key phrases and store them in a secure place.
- Validate your keyword phrase by selecting the words asked.
- You will successfully create your Avalanche wallet if you get all phrases correctly.
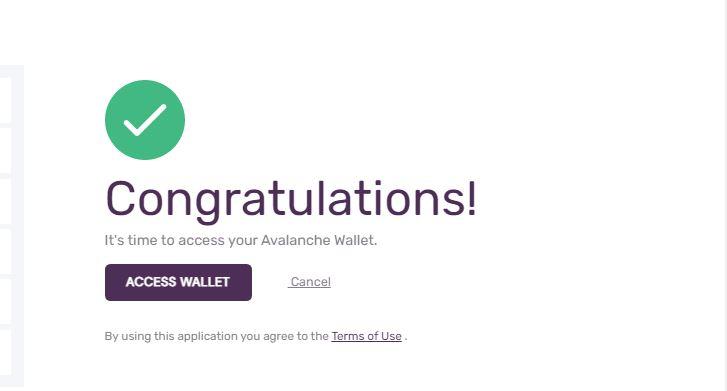
Step 3: Adding Avalanche to MetaMask
To be able to access AVAX, Avalanche’s main token on MetaMask, you need to pair the two platforms. Let’s explore how to add MetaMask to Avalanche.
- Open your MetaMask wallet extension and click the network dropdown menu on the top right side of the page.
- Tap on the Add Network button
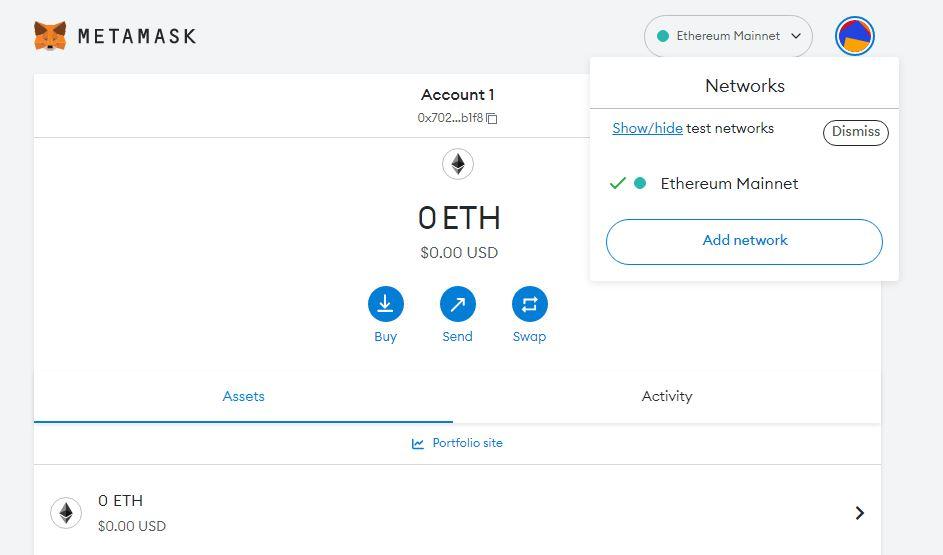
- A new tab will open with fields for the new network that you want to add. Fill in the fields with the details in the image below, and click the Save button.
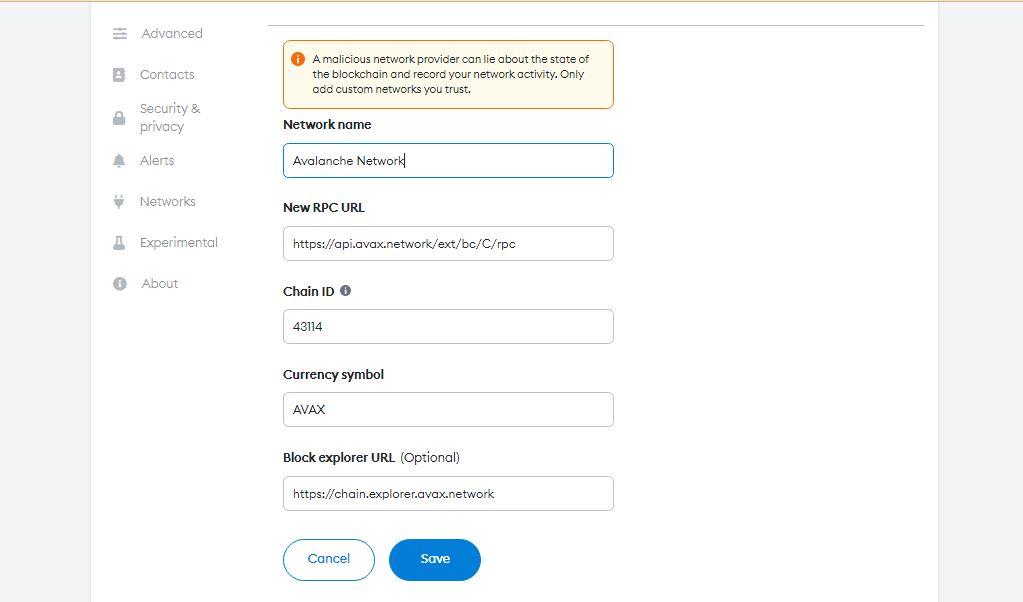
- You have successfully added Avalanche to your MetaMask wallet.
Step 4: Add AVAX Token to MetaMask
AVAX is the native token of the Avalanche blockchain. This means you need to buy AVAX to run transactions on Avalanche. However, because the blockchain is divided into three chains, the AVAX you buy will be on a different blockchain from where you want it used. Therefore, you need to transfer these tokens to c-chain, the chain connected to MetaMask. Here are the instructions for achieving this.
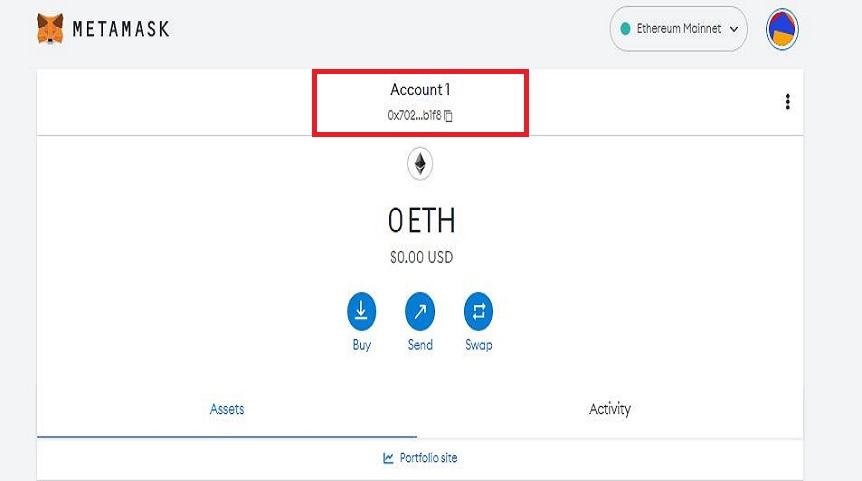
- Go to your MetaMask Wallet homepage and copy the wallet address under your account name.
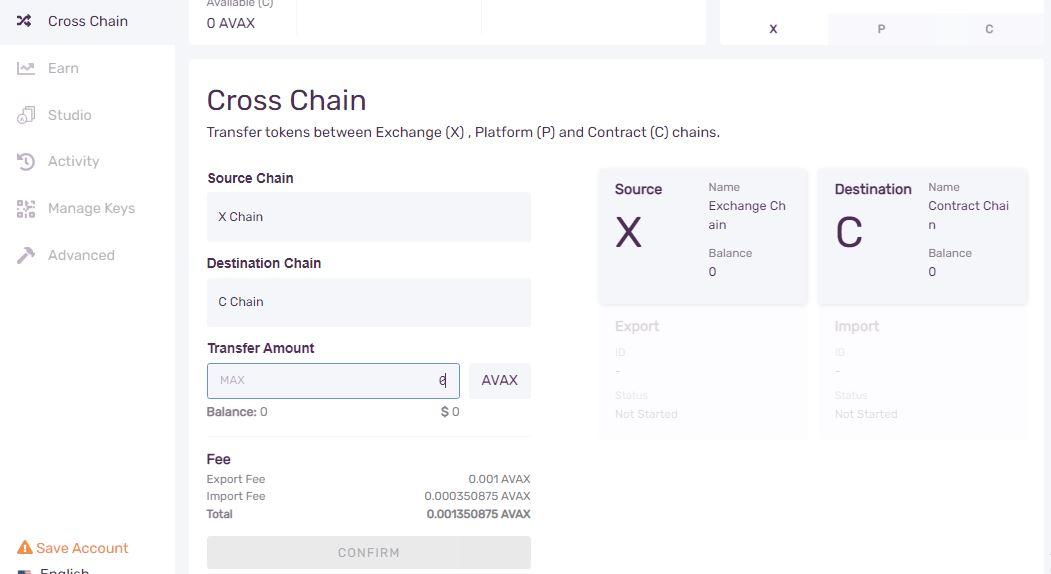
- Open your Avalanche wallet and click the Cross-chain icon on the left–hand side panel.
- Enter C-chain in the Destination Chain field.
- Enter the amount of AVAX that you want to transfer and click the Confirm button.
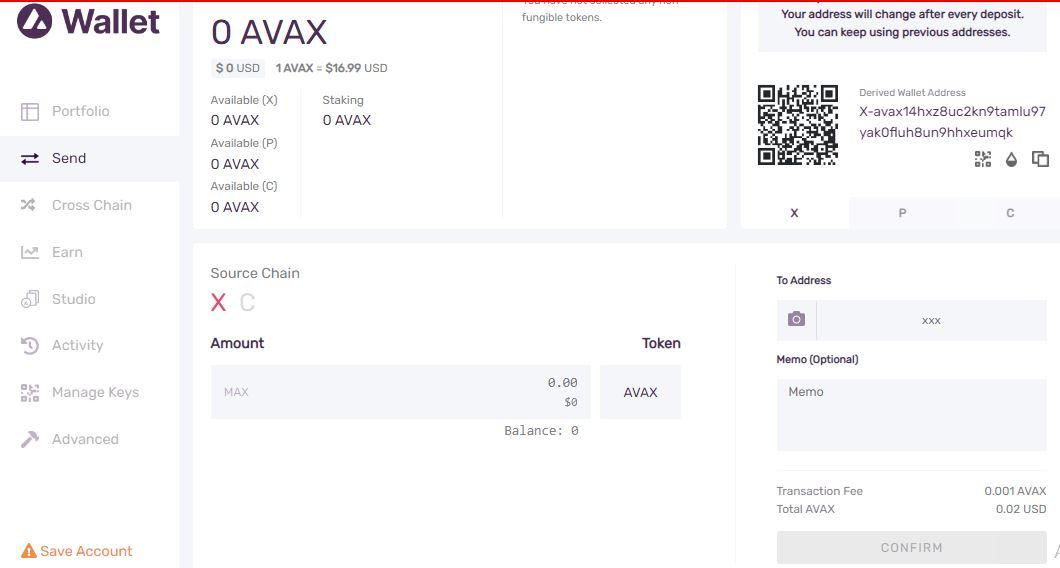
- Now, navigate to the Send icon. Click it and enter C-chain as your Source Chain.
- Enter the amount you wish to transfer.
- In the To Address field, paste the MetaMask wallet address you copied.
- Click the confirm button.
MetaMask is One of the Best Inter-Blockchain Wallets
Avalanche is one of the many blockchains that Metamask helps crypto enthusiasts to connect to. Using this wallet, you can also access popular blockchains like Polygon and BNB with ease.

